
Swan Latte Art Cup with Heart Eye
An intricate swan motif resting in microfoam with a delicate heart eye. Sized for an 11oz ceramic mug front or seamless 20oz tumbler repeat.
Download Free SVG & DXF →Updated November 2026 · SVG Design Factory Sublimation Lab
Quick Formula for Razor-Sharp, Zero-Ghost Tumbler Seams:
1) Size artwork to 9.35" × 8.25" with a 0.05" overlap in our Free 20oz Tumbler Wrap Sizer →
2) Trim the top layer flush against the print →
3) Anchor the vertical seam with horizontal high-tension polyimide tape bands →
4) Seal top and bottom rims with silicone pinch bands →
5) Press at 375°F (190°C) for 50 seconds, rotate 180°, and press for another 50 seconds →
6) Hot-peel immediately.
Sublimating 20oz straight skinny tumblers, 16oz Libbey-style glass cans, and 11oz/15oz ceramic coffee mugs is among the highest-margin craft businesses in 2026. However, nothing wastes expensive sublimation blanks faster than seam ghosting: blurry, hazy double-images along the vertical overlap, or washed-out white bands around the top rim and bottom bevel.
Sublimation is a thermodynamic gas-phase process. At 360°F to 400°F, solid dye ink turns directly into a pressurized gas. If your transfer paper lacks 100% airtight, continuous contact pressure against the tumbler's poly-coated metal or glass, that dye gas travels sideways, creating a ghosted aura. Below is our complete tested 2026 equipment settings chart, followed by the exact 6-step taping and pressing workflow to eliminate seam defects forever.
These settings are bench-tested using standard high-release sublimation papers (A-Sub 125g, TruePix, and Hiipoo) and factory poly-coated blanks. If you are comparing new hardware, review our comprehensive 2026 Best Sublimation Printers Guide and Best Heat Presses & Tumbler Attachments.
Whether you should invest in an all-in-one cylindrical tumbler press (such as a PYD Life Pro or HTVRONT Auto Tumbler Press) or a dedicated countertop convection craft oven depends entirely on your product catalog and production volume:
Eliminate sizing guesswork and warped graphics. Open our free 16oz Libbey Glass Can & 20oz Skinny Tumbler Wrap Sizer to tile any floral, coffee, or typography SVG, preview the exact seam alignment on an interactive 3D rotating cup, and export an exact-dimension 2790 × 2460 px (300 DPI) print file.
Follow these six bench-proven practices to ensure seamless full-wrap coverage from top mouth to bottom bevel:
Never butt two trimmed paper edges directly against each other. Minor paper expansion during heating will pull the joint apart, leaving a stark white hairline stripe down your tumbler. Instead, use the Feathered Lap Seam method:
Sublimation paper coatings and blank poly-varnishes absorb atmospheric moisture from humid craft rooms. When plunged into a 380°F press, that water instantly vaporizes into steam. Steam pushes gaseous sublimation dye away from the tumbler, creating faded patchy zones. Fix: Insert the bare metal tumbler into your warm press for 10 seconds before applying paper, and let your printed sublimation transfer sheet sit uncovered under the open platen for 30 seconds to dry completely.
Lightly laying down tape will not hold back pressurized dye gas. You need mechanical tension:
The top rim and bottom bevel are notorious for washed-out sublimation ink because cylindrical press elements slightly bell out at their ends. Wrap a strip of heat tape horizontally around the top rim, folding half of the tape over into the inner cup mouth. Repeat on the bottom bevel, pinching tight little triangular darts to hug the curve. Slide two thick silicone pinch bands directly over the top and bottom rims to add 15+ PSI of concentrated clamping pressure where the press platen cannot reach.
Every clam-style tumbler heat press has a mechanical split or opening where the two halves of the cylindrical heating element meet. If your transfer seam sits near that split, it receives 30°F less heat and zero direct pressure. Always follow this exact pressing rhythm for 20oz straight skinny tumblers:
As long as the tumbler remains over 300°F, residual ink on the transfer paper continues to sublimate. If the paper shifts even 0.5mm while cooling on your workbench, it will produce a hazy secondary halo (ghosting). Wearing heat-resistant gloves, immediately slice the tape with a craft knife and peel the paper away in one fluid, continuous motion. Set the hot tumbler onto a silicone trivet to air cool. Never dunk hot glass or ceramic in water, or it will shatter immediately.
Clean, single-contour vector graphics make the cleanest sublimation and vinyl tumbler wraps because they produce crisp contrast without muddy gradients. Below are 20 free commercial-use designs from our Coffee & Iced Drink SVG Collection, Botanical Collection, and Cat & Pet Collection. Each includes both an .SVG and .DXF file, covered by our free 500-unit commercial license.
Elegant coffee carafes, matcha bowls, and latte art cups—ideal for 11oz ceramic mugs, 20oz travel tumblers, and cafe kitchen decor:
An intricate swan motif resting in microfoam with a delicate heart eye. Sized for an 11oz ceramic mug front or seamless 20oz tumbler repeat.
Download Free SVG & DXF →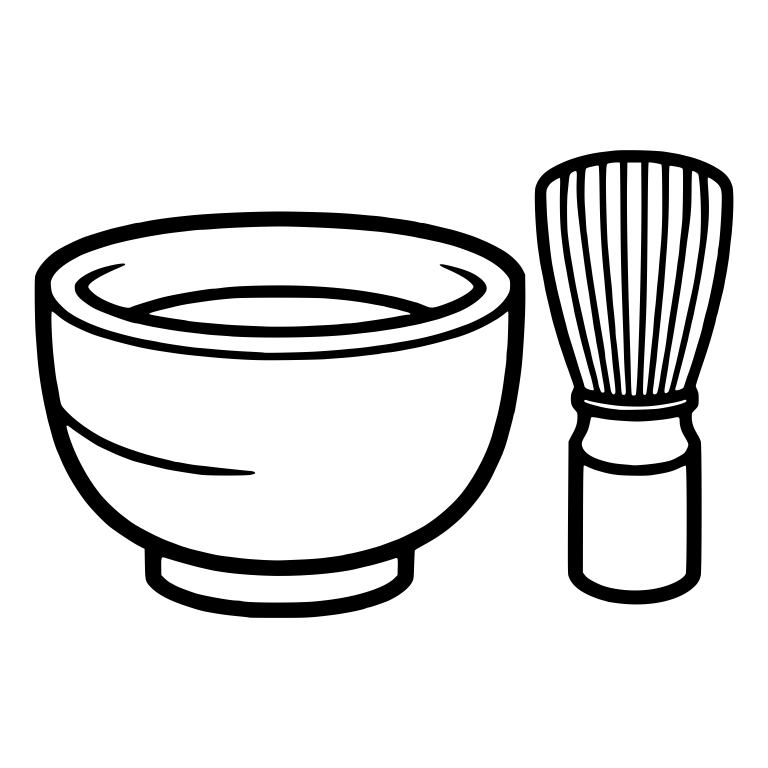
Traditional chasen bamboo whisk paired with a handcrafted ceremonial matcha bowl. Sublimate in deep forest green on white ceramic blanks.
Download Free SVG & DXF →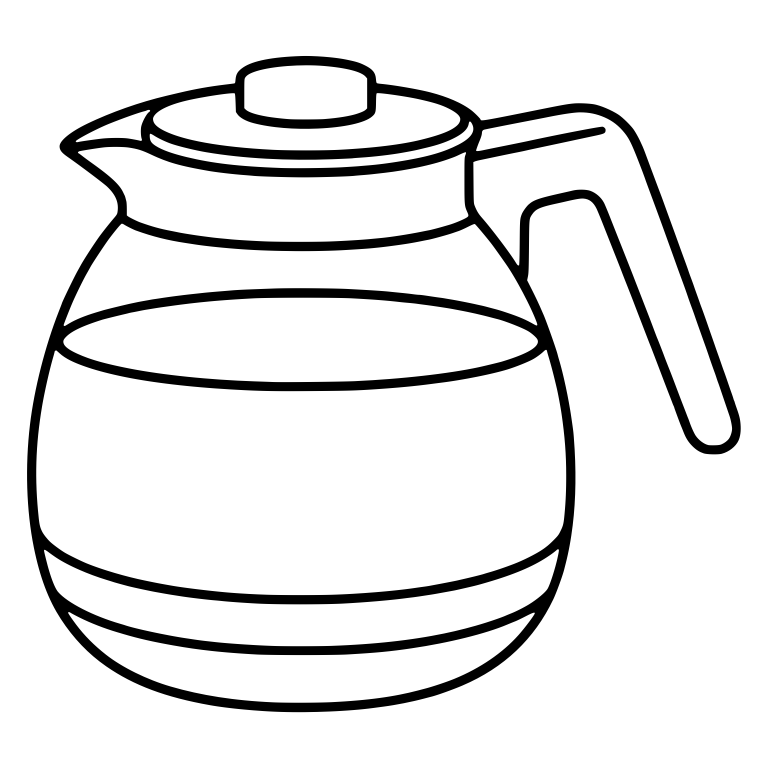
Classic mid-century pour-over glass coffee decanter with angular handle. Ideal for coffee bar wood signs or sublimation travel mugs.
Download Free SVG & DXF →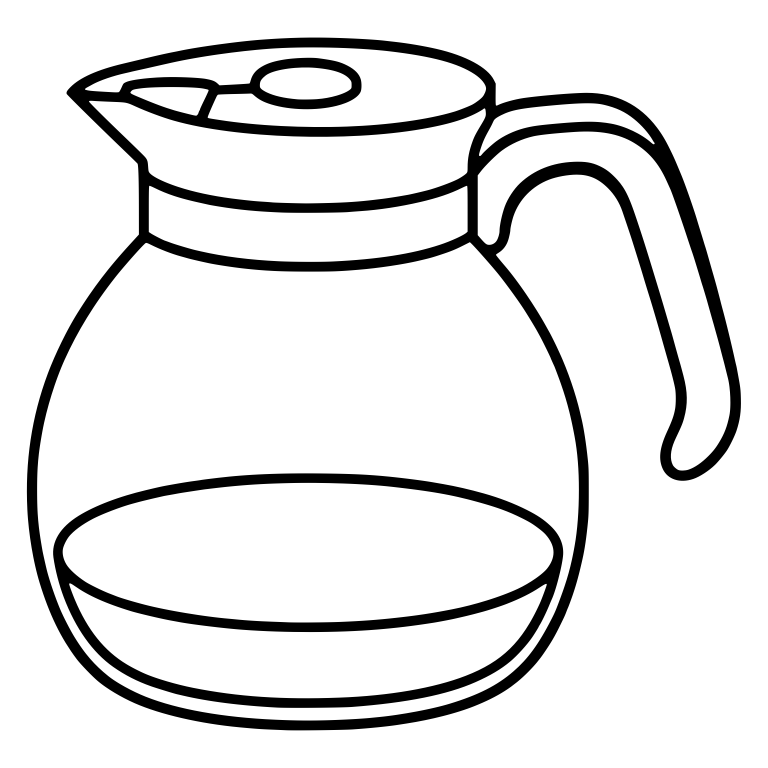
Minimalist kitchen carafe line art with bold outer silhouette that holds up under high-temperature sublimation without thinning.
Download Free SVG & DXF →
Playful cafe mug with swirling steam wisps. Clean single path that weeds in 10 seconds or sublimates richly into glossy white ceramic.
Download Free SVG & DXF →Trendy 16oz Libbey beer can glass graphics, bubble tea cups, and smiling characters that dominate craft fairs and Etsy bestsellers:
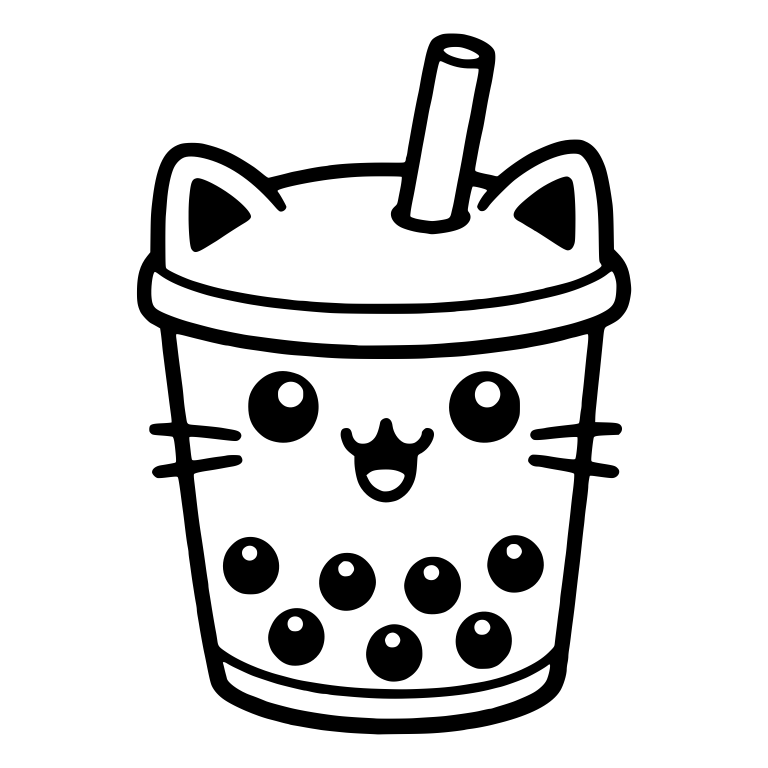
Whimsical kitten-eared dome lid with tapioca boba pearls. Tile into a repeating wrap using our Wrap Sizer for 16oz glass cans.
Download Free SVG & DXF →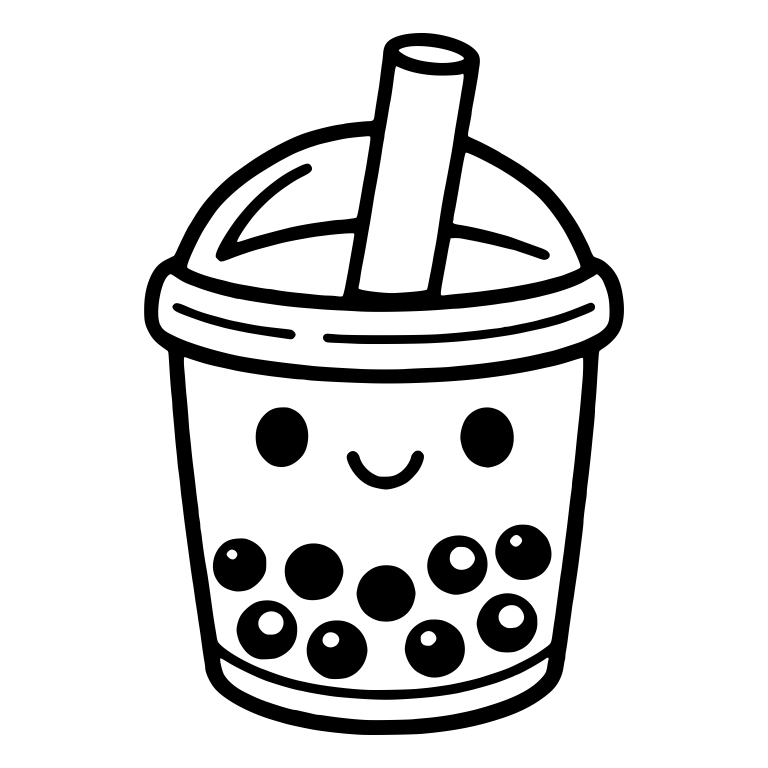
Bold outlines and smiling eyes. Looks stunning in UV DTF wrap transfers or sublimated on frosted glass cans at 360°F.
Download Free SVG & DXF →
French cafe aesthetic featuring a cozy girl in an oversized beret sipping an espresso. Perfect center badge for 20oz travel tumblers.
Download Free SVG & DXF →
Playful winking rose blossom with thorny stem and single leaf. Pair with retro checkerboard patterns in our Pattern Builder.
Download Free SVG & DXF →
Heavy contour weights that maintain ultra-crisp line clarity even on textured or glitter-coated sublimation tumbler blanks.
Download Free SVG & DXF →Minimalist botanical line art is the top-selling wrap aesthetic for bridesmaid tumblers, teacher gifts, and frosted iced coffee cans:

Deep organic slits with a bold central vein. Wrap continuously around a 20oz stainless tumbler for a lush jungle resort aesthetic.
Download Free SVG & DXF →
Graceful arched eucalyptus branch with center-split round leaves. Pairs seamlessly with script bride and bridesmaid name decals.
Download Free SVG & DXF →
Six sculpted leaves cradling a delicate round berry sprig. Converts into a high-contrast 300 DPI sublimation graphic in our converter tool.
Download Free SVG & DXF →
Artistic tilted angle featuring natural fenestration cutouts. Excellent for laser-engraved powder-coated tumblers or sublimation prints.
Download Free SVG & DXF →
Clean open loops that transfer with 100% ink saturation without risk of bleeding across tight vector crevices during heat dwell.
Download Free SVG & DXF →High-energy streetwear motifs and adorable ledge-peeking animals for iced coffee lovers and funny travel mugs:

A relaxed skeleton holding a warm morning cup with closed, peaceful eye sockets. Bestselling design for dark humor travel tumblers.
Download Free SVG & DXF →
Casual winter beanie and peace fingers paired with a to-go coffee cup. Perfectly balanced for front-and-back mug placement.
Download Free SVG & DXF →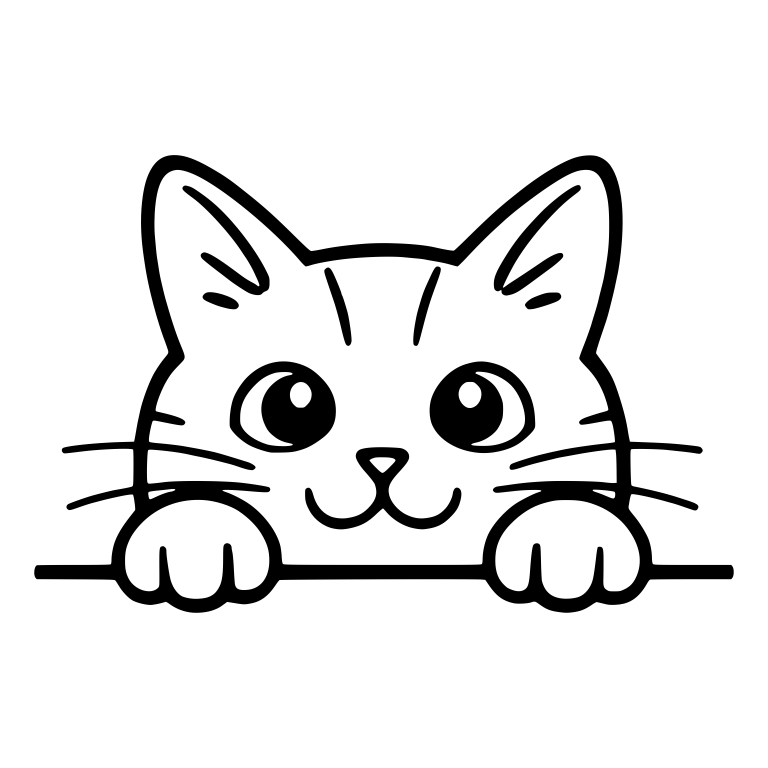
Position this cat's straight bottom paws right along the bottom bevel of a tumbler so it appears to peek out from inside the drinkware.
Download Free SVG & DXF →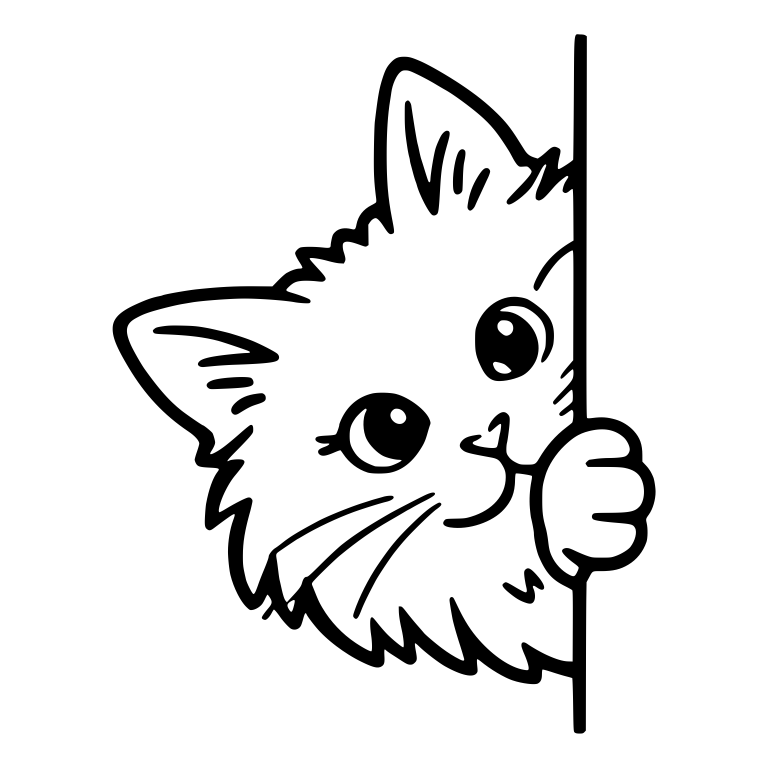
Engineered with a flush vertical edge—place this kitty peeking directly out from behind the vertical seam of your tumbler wrap.
Download Free SVG & DXF →
Hangs paws-down from the top mouth of a tumbler. Sublimates cleanly at 375°F with silicone pinch bands holding the top edge firmly.
Download Free SVG & DXF →