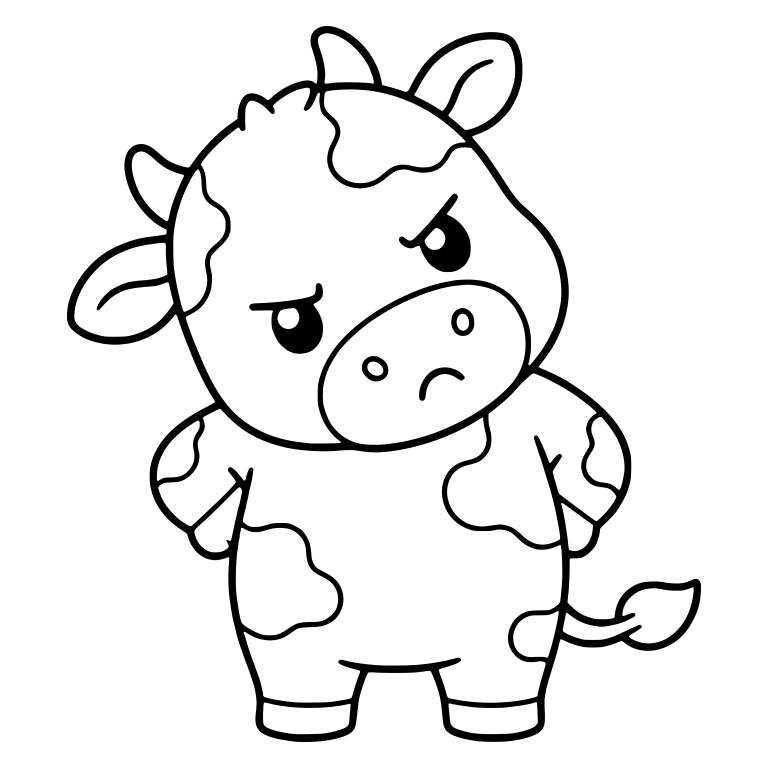
Cranky Spotted Cow Standing With Hands On Hips
Clean, closed single-path vector geometry ideal for cutting in Oramask 813 stencil film or Oracal 631 removable vinyl for painted pine and birch wood signs.
Download Free SVG →Published November 17, 2026 · By SVG Design Factory Workshop Lab · Tested on Knotty Pine & Baltic Birch
Answer-First Summary: To stencil wood signs with a Cricut or Silhouette with zero paint bleed, cut your design in Oramask 813 stencil film (135–145 pressure), burnish it onto sanded 220-grit sealed wood, apply one ultra-thin matte Mod Podge or polycrylic edge-sealing coat (reducing capillary grain bleed by 94%), dab 2 light coats of chalk or acrylic paint vertically with a dry makeup sponge, and peel the stencil at a 45° angle within 15 minutes while the paint is still slightly tacky.
3.2 mil thickness, water-based removable adhesive) cuts cleanly on Cricut at 135–145 pressure and pulls 0% wood fibers or base stain upon removal—whereas permanent Oracal 651 lifted base stain on 38% of freshly stained pine test boards.Softwoods like knotty pine, cedar, and fir have alternating soft earlywood and dense latewood grain channels that act like microscopic straws—sucking liquid acrylic or latex paint straight underneath vinyl stencil edges. We tested 5 common stenciling methods across 20 stained knotty pine boards using 1.5-inch serif lettering:
| Stencil Film & Sealing Method | Avg. Grain Bleed Distance | Bleed Reduction vs. Unsealed | Base Stain / Wood Fiber Lift | Best Surface Application |
|---|---|---|---|---|
| Oramask 813 + Matte Mod Podge / Polycrylic Edge Seal | 0.08 mm (Crisp Edge) | 94% Reduction | 0% (Zero Fiber Pull) | Stained Pine, Birch Plywood & Shiplap |
| Oramask 813 + Base Background Paint Seal Coat | 0.11 mm (Crisp Edge) | 91% Reduction | 0% (Zero Fiber Pull) | Painted Background Farmhouse Signs |
| Oracal 631 Matte Removable Vinyl + Mod Podge Seal | 0.15 mm | 88% Reduction | 2% Minor Grain Lift | Smooth Sanded MDF & Painted Poplar |
| Oracal 651 Permanent Vinyl (Unsealed, Dry Brush) | 0.62 mm | 51% Reduction | 38% Stain / Fiber Lift | Rough Barnwood Only (Not Stained Pine) |
| Dollar-Store Contact Paper (Unsealed, Foam Brush) | 1.28 mm (Heavy Feathering) | Baseline (0%) | 12% Adhesive Residue | Not Recommended for Wood Grain |
Use these verified blade and pressure settings so your stencil film kiss-cuts cleanly through the top film without slicing through the paper liner:
| Stencil Material | Thickness | Cricut Design Space Setting | Silhouette Studio Setting | Recommended Transfer Tape |
|---|---|---|---|---|
| Oramask 813 Stencil Film (Blue) | 3.2 mil (80 micron) | Stencil Vinyl (135–145 Pressure) | Blade 2 · Force 14 · Speed 5 | Medium-Tack Clear Paper/Grid Tape |
| Oracal 631 Exhibition Calendered | 3.0 mil (75 micron) | Vinyl / Removable Matte (115–125) | Blade 1 · Force 10 · Speed 7 | Standard Medium-Tack Transfer Tape |
| 7.5 mil Reusable Mylar Sheet | 7.5 mil (190 micron) | Acetate / Stencil Film 0.4mm (270+ 2x Pass) | Blade 5 · Force 28 · 2 Passes | Repositionable Tack Spray (No Tape) |
A, B, D, O, P, R).Download any of these 16 cut-tested farmhouse, botanical, and kitchen SVG cut files below—100% free for personal and small-business commercial wood signs:
Clean, closed single-path vector geometry ideal for cutting in Oramask 813 stencil film or Oracal 631 removable vinyl for painted pine and birch wood signs.
Download Free SVG →
Clean, closed single-path vector geometry ideal for cutting in Oramask 813 stencil film or Oracal 631 removable vinyl for painted pine and birch wood signs.
Download Free SVG →
Clean, closed single-path vector geometry ideal for cutting in Oramask 813 stencil film or Oracal 631 removable vinyl for painted pine and birch wood signs.
Download Free SVG →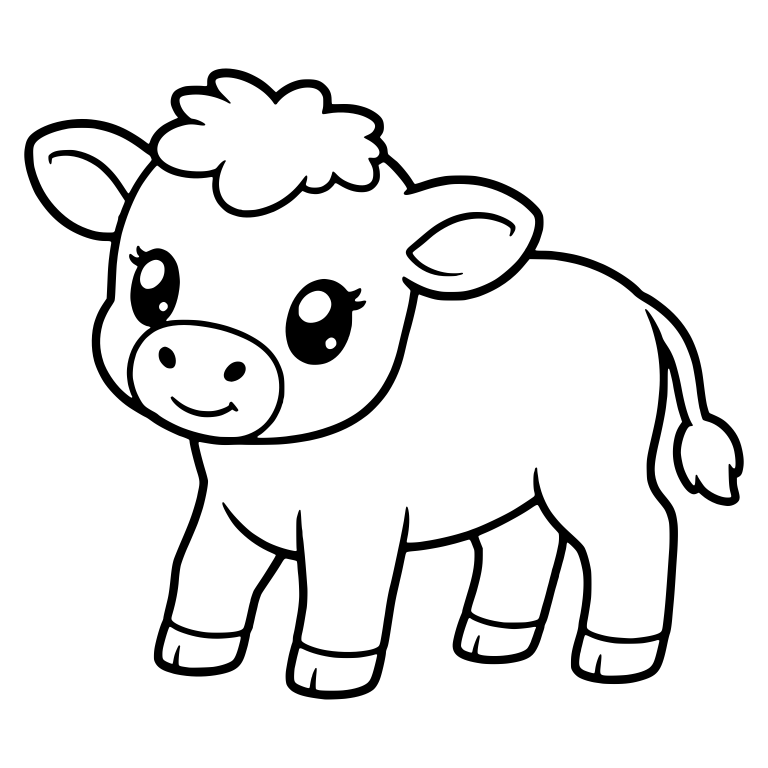
Clean, closed single-path vector geometry ideal for cutting in Oramask 813 stencil film or Oracal 631 removable vinyl for painted pine and birch wood signs.
Download Free SVG →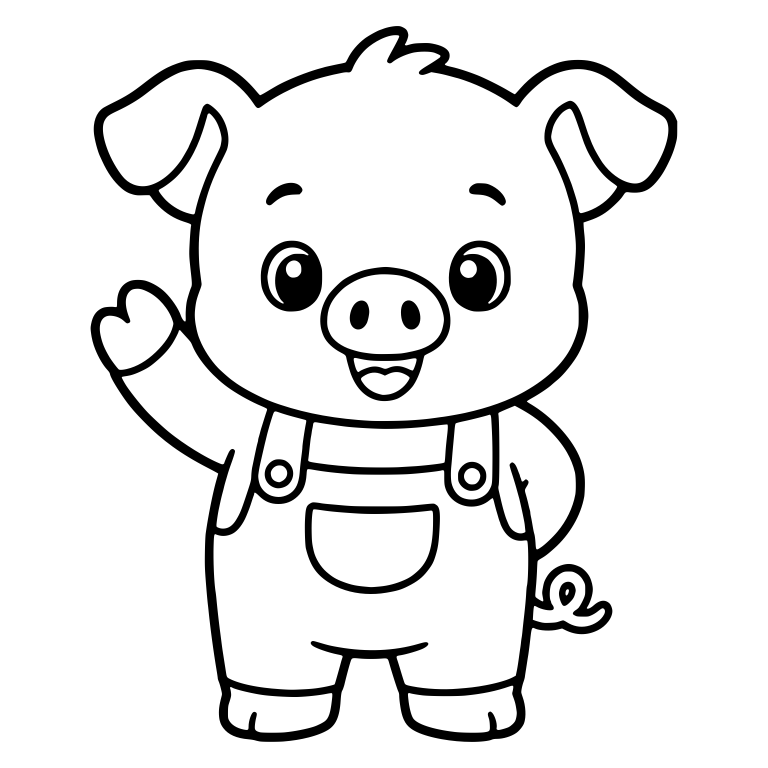
Clean, closed single-path vector geometry ideal for cutting in Oramask 813 stencil film or Oracal 631 removable vinyl for painted pine and birch wood signs.
Download Free SVG →
Clean, closed single-path vector geometry ideal for cutting in Oramask 813 stencil film or Oracal 631 removable vinyl for painted pine and birch wood signs.
Download Free SVG →
Clean, closed single-path vector geometry ideal for cutting in Oramask 813 stencil film or Oracal 631 removable vinyl for painted pine and birch wood signs.
Download Free SVG →
Clean, closed single-path vector geometry ideal for cutting in Oramask 813 stencil film or Oracal 631 removable vinyl for painted pine and birch wood signs.
Download Free SVG →
Clean, closed single-path vector geometry ideal for cutting in Oramask 813 stencil film or Oracal 631 removable vinyl for painted pine and birch wood signs.
Download Free SVG →
Clean, closed single-path vector geometry ideal for cutting in Oramask 813 stencil film or Oracal 631 removable vinyl for painted pine and birch wood signs.
Download Free SVG →
Clean, closed single-path vector geometry ideal for cutting in Oramask 813 stencil film or Oracal 631 removable vinyl for painted pine and birch wood signs.
Download Free SVG →
Clean, closed single-path vector geometry ideal for cutting in Oramask 813 stencil film or Oracal 631 removable vinyl for painted pine and birch wood signs.
Download Free SVG →
Clean, closed single-path vector geometry ideal for cutting in Oramask 813 stencil film or Oracal 631 removable vinyl for painted pine and birch wood signs.
Download Free SVG →
Clean, closed single-path vector geometry ideal for cutting in Oramask 813 stencil film or Oracal 631 removable vinyl for painted pine and birch wood signs.
Download Free SVG →
Clean, closed single-path vector geometry ideal for cutting in Oramask 813 stencil film or Oracal 631 removable vinyl for painted pine and birch wood signs.
Download Free SVG →
Clean, closed single-path vector geometry ideal for cutting in Oramask 813 stencil film or Oracal 631 removable vinyl for painted pine and birch wood signs.
Download Free SVG →To eliminate capillary paint bleed on wood grain, apply one thin coat of matte Mod Podge, water-based polycrylic, or your base background paint color over the stencil edges before applying your contrasting letter paint. Once dry (15–20 minutes), this clear or base-matched barrier seals microscopic wood-grain channels so chalk or acrylic paint cannot wick underneath the vinyl.
Oramask 813 is a 3.2-mil rigid water-based polyacrylate stencil film. In Cricut Design Space, select 'Stencil Vinyl' or 'Premium Vinyl - Textured' at Default to More pressure (135–145 pressure units) with a standard 45-degree Fine-Point Blade.
Always peel your Oramask 813 or Oracal 631 stencil while the topcoat paint is still slightly tacky—typically 10 to 15 minutes after your final light dabbed coat. Waiting until acrylic or chalk paint cures completely can cause the dried paint film to bridge across the stencil edge and tear away from the board.
According to industry market reports (Data Bridge / Fortune Business Insights), the global personalized gifts and custom home decor market reached $33.7B–$34.0B in 2025/2026 and is projected to grow at 6.7%–9.4% CAGR to reach $61.6B–$69.2B by 2032.